
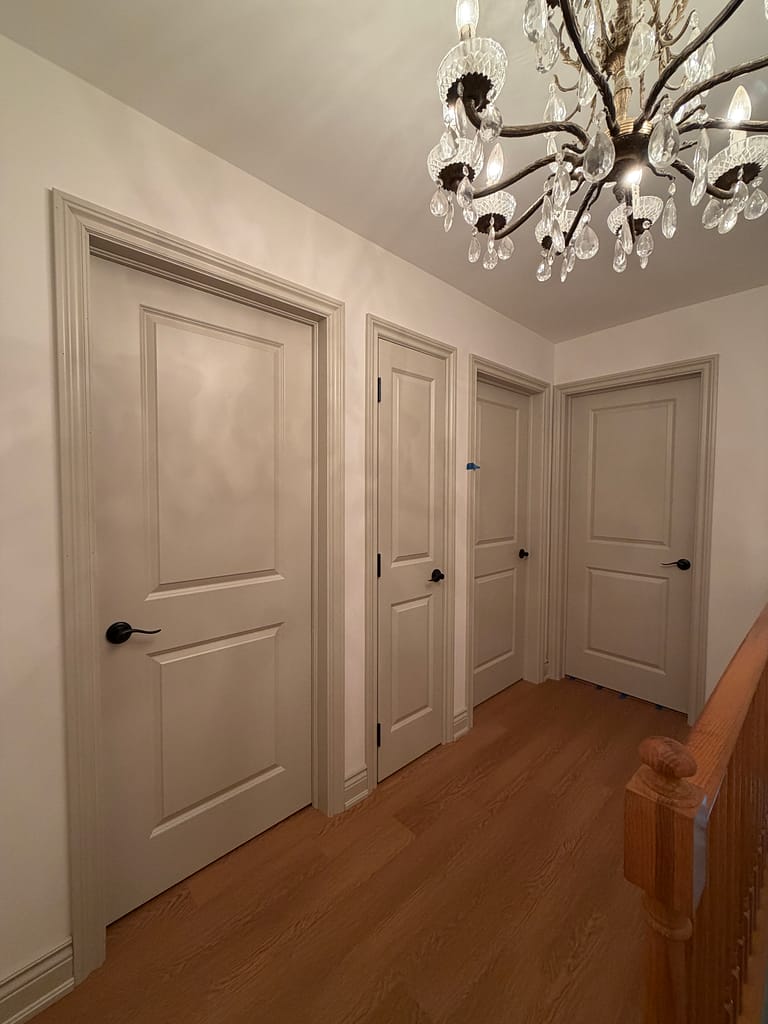
This Milton project involved much more than installing a few doors and lengths of trim.
The complete second-floor scope included approximately 600 square feet of vinyl flooring, 13 interior doors, customized jambs, eight windows with new jamb extensions and casing, baseboards, door trim and nine bathroom beam covers.
Most of the doors, jambs, casing, door stops and beam-cover material arrived spray-finished. That reduced the amount of finishing required after installation, but it also meant that every piece had to be measured, cut and handled carefully. Damage to a prefinished surface is much harder to hide than a mark on unfinished material.
This is the kind of multi-part renovation finishing project included in Wood Job’s finish carpentry services in Milton.
★★★★★
77 Google Reviews.
Earned One Job at a Time.
Real projects. Real homes. Real customers.
Wood Job Finish Carpentry is trusted by homeowners in Milton who care about clean work, careful details, direct communication and finish carpentry that is handled with personal responsibility.
Starting with the Vinyl Flooring
The existing trim first had to be removed before the new flooring could be installed.
The client wanted the vinyl planks to run lengthwise through the hallway. In the primary bedroom, however, the planks needed to follow the longer wall. This required a planned change of direction at the bedroom entrance rather than carrying the hallway layout straight into the room.
The flooring direction was established before moving on to the doors, casing and baseboards. Completing the floor first also established the final height needed for door clearance and the position of the surrounding trim.
Wood Job also handles flooring installation and flooring-related finish carpentry when the flooring, doors and baseboards need to be planned as one connected scope.

Prefinished Material Changed the Installation Method
Prefinished material can save the homeowner a considerable amount of painting, but it leaves less room for careless cutting or unnecessary site work.
All casing cuts for this project were completed in the garage. Each prepared piece was labelled with its measurement before being carried upstairs. No cutting was done inside the finished rooms.
The casing mitres were also glued and assembled flat on a protected surface before the complete casing frame was installed. This helped keep the corners aligned and produced tighter mitres than trying to force three separate pieces together against an uneven wall.
This method is especially useful where plaster or drywall variations could otherwise push the casing legs into different planes. Wood Job’s guide to installing doors and trim on uneven plaster walls explains why the wall condition, jamb position and casing have to be considered together.
Customized Door Jambs for Plaster Walls
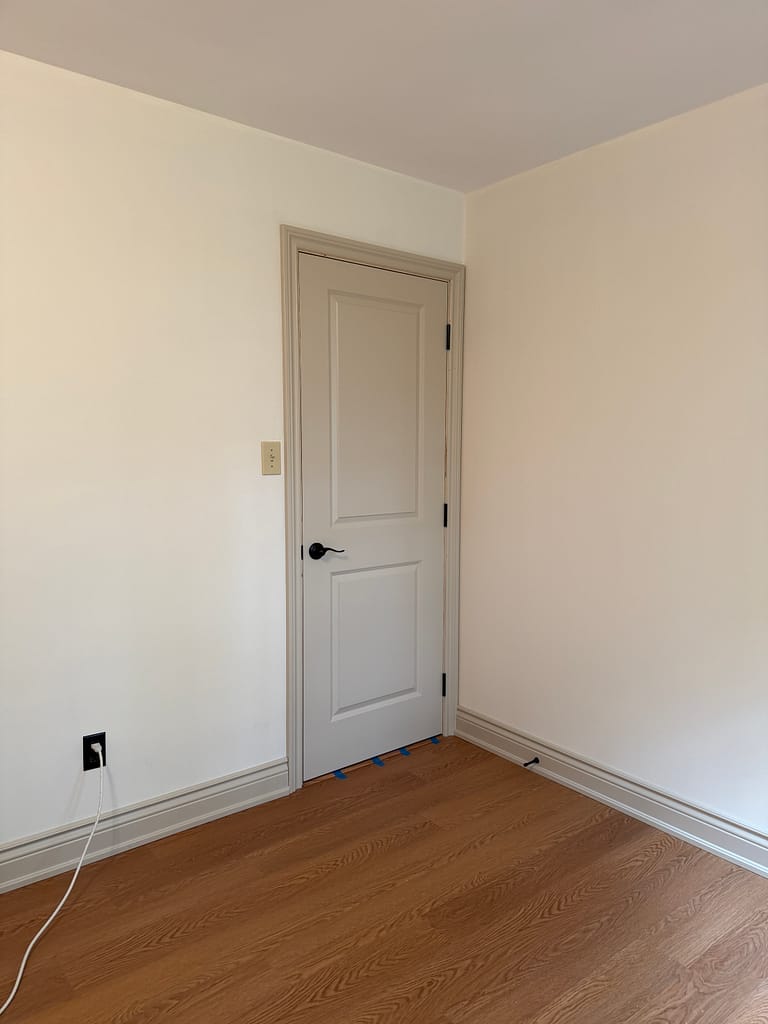
The existing plaster walls did not provide one simple standard depth for every opening.
The supplied jamb material therefore had to be customized for the actual wall conditions. Because the material was already spray-finished, resizing a jamb left one factory-finished edge and one newly cut edge.
I planned each jamb so the cut edge faced the less visible side of the opening. At a closet, it faced into the closet. At bedrooms and bathrooms, it faced into the room whenever the opening allowed it. From the hallway, the more visible jamb edges retained their factory finish.
That orientation had to be decided before the jambs were assembled. It could not be treated as an afterthought once the doors reached their openings.
A previous Milton custom jamb and interior door project also shows why stock jamb material cannot always be forced into non-standard wall conditions. Custom jamb work is not decorative terminology. It is simply what allows the door to fit the real opening.
Building the Double-Door Jamb
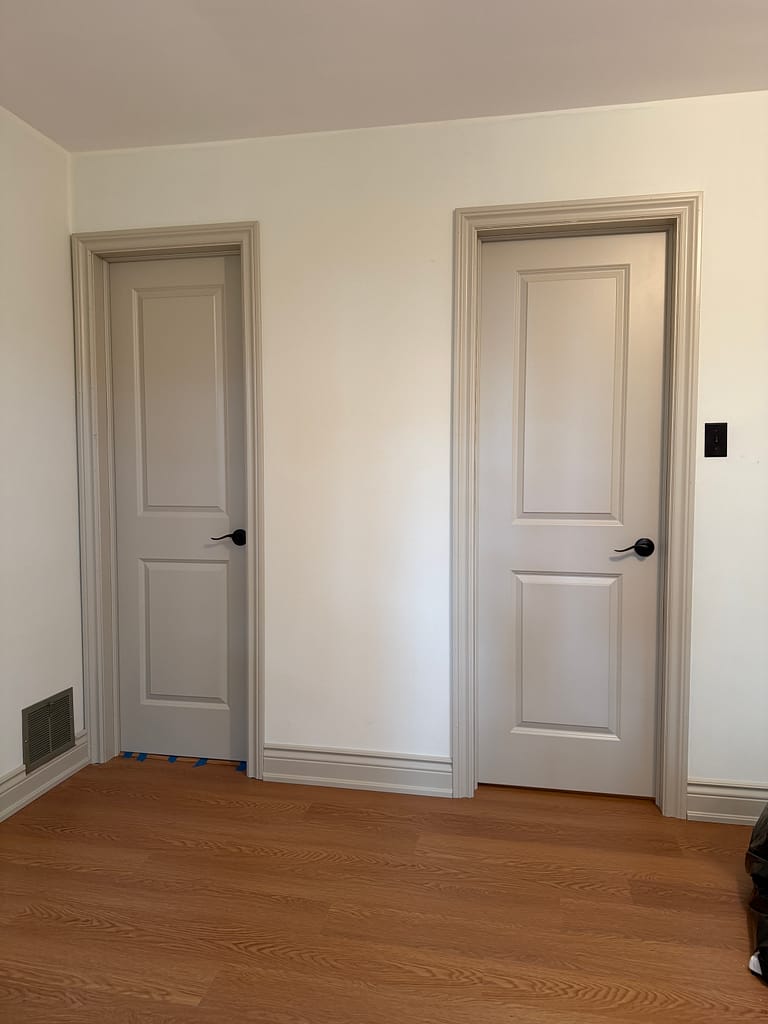
Several closets received pairs of 18-inch doors.
For each pair, the two doors totalled 36 inches. The assembled jamb required an additional three-eighths of an inch for three separate one-eighth-inch reveals: one at the left jamb, one between the doors and one at the right jamb.
After fastening the first side of the jamb, I checked the inside measurement before completing the assembly. When the opening was slightly narrow, I adjusted it to 36⅜ inches and then installed the remaining fasteners.
Once the assembled jamb was placed in the opening, I used a laser to check both sides for plumb. Shims were positioned behind the jamb at the hinge locations so the fasteners would have solid support where the weight of the doors was transferred.

Why Non-Mortise Ball-Bearing Hinges Worked Here
For this project, I recommended non-mortise ball-bearing hinges.
A standard mortised hinge would require recesses to be cut into both the door and jamb. Because these components had already been spray-finished, that would add another operation and increase the risk of damaging the finished surfaces.
The non-mortise hinges could be fastened directly to the doors and jambs without cutting those recesses. The ball-bearing mechanism also gave the doors a smooth, quiet movement.
The clients had originally purchased different hinges, but those hinges were already squeaking before the doors were hung. After seeing and testing the non-mortise ball-bearing option, they returned the original hardware.
The hinge locations were marked consistently at 7, 38 and 69 inches before the doors were carried to their openings.
For more about the relationship between doors, jambs, hinges, hardware and reveals, see Wood Job’s interior door installation in Milton page.
Small Door-Preparation Details
Some of the most important parts of a door installation are barely visible after the hardware is fitted.
When boring the main hole for a door handle, I do not drive the hole saw through the door from only one side. I stop when the pilot bit passes through the opposite face, move to the other side and complete the cut from there. This helps prevent the MDF face from blowing out and leaves a cleaner opening on both sides.
The latch hole was then drilled through the door edge. The latch faceplate was mortised, its corners were squared with a chisel, and the actual latch was test-fitted to confirm that the faceplate sat flush with the door surface.
I used a similar check when installing the strike plates. The first screw held the plate while still allowing adjustment. I then closed and tested the door before installing the second screw.
Keeping Concealed Magnetic Catches Paired
The closet doors used concealed magnetic catches.
Each catch came as a matched pair. As soon as one part was installed in a door, I gave the door and the remaining part the same identification code. For example, a door marked “3L” remained paired with the box carrying the same “3L” mark.
This prevented pieces from different sets from becoming mixed during the project. Magnetic polarity matters: mismatched components may repel rather than hold the door closed.
It is a small organizational step, but it avoids removing and changing catches after the doors have already been installed.

Eight Windows Without Existing Interior Jambs
The eight PVC windows did not have existing interior jambs. The PVC frames sat back from the finished wall surface, leaving a deep return between the edge of each window and the face of the wall.
Each opening required a custom jamb extension to bridge that complete depth before the casing could be installed.
Before placing an extension, I drove screws into the framing around the window. Each screw head was adjusted to line up with the edge of the PVC window. The heads then acted as controlled stops, keeping the extension aligned and preventing it from moving sideways inside the larger opening.
The extension pieces were assembled as a complete frame on the floor. I then carried the frame to the window, positioned it against the prepared screw heads and checked the fit before permanently securing it.
This was faster and easier to control than trying to fill the entire space with a collection of small, loose shims.
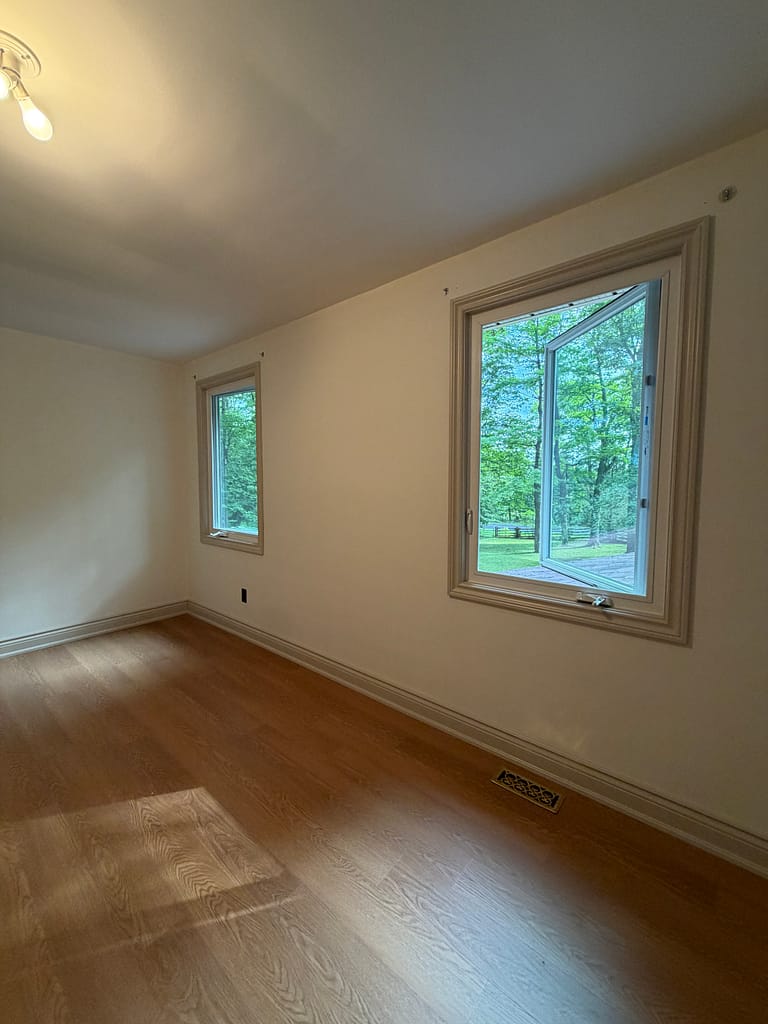
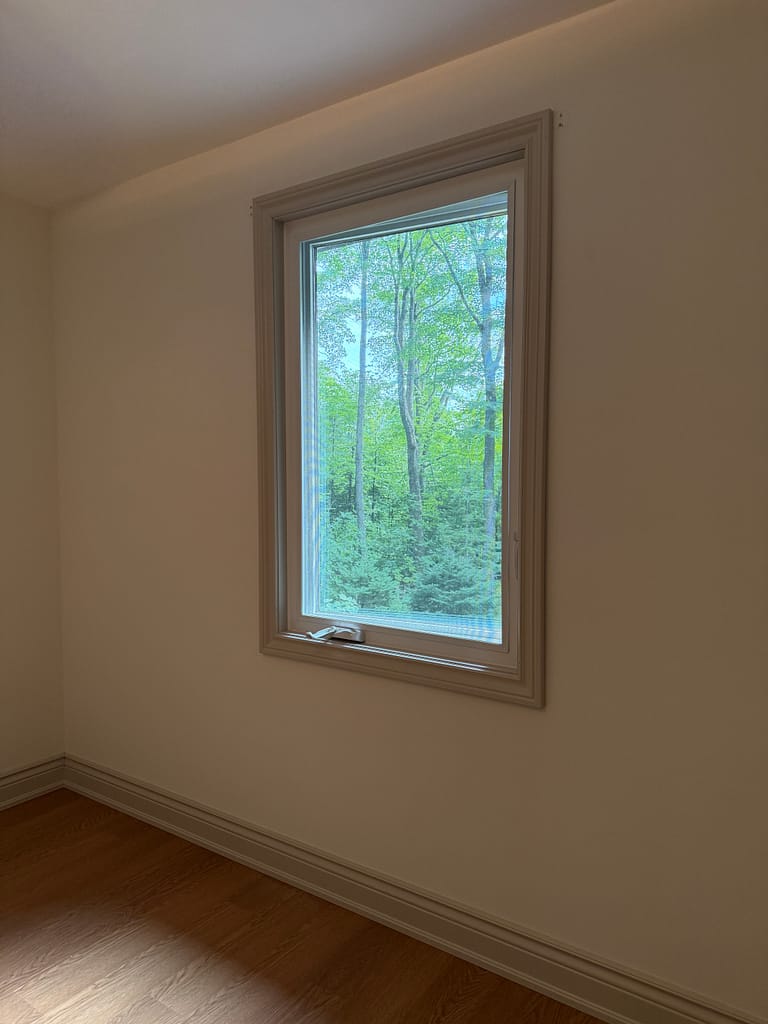
The finished casing had to relate properly to the extension, wall surface and surrounding baseboard. Wood Job’s baseboard, casing and interior trim service covers the same relationship between wall depth, jamb extensions, casing and flooring transitions.
Nine Individually Fitted Bathroom Beam Covers
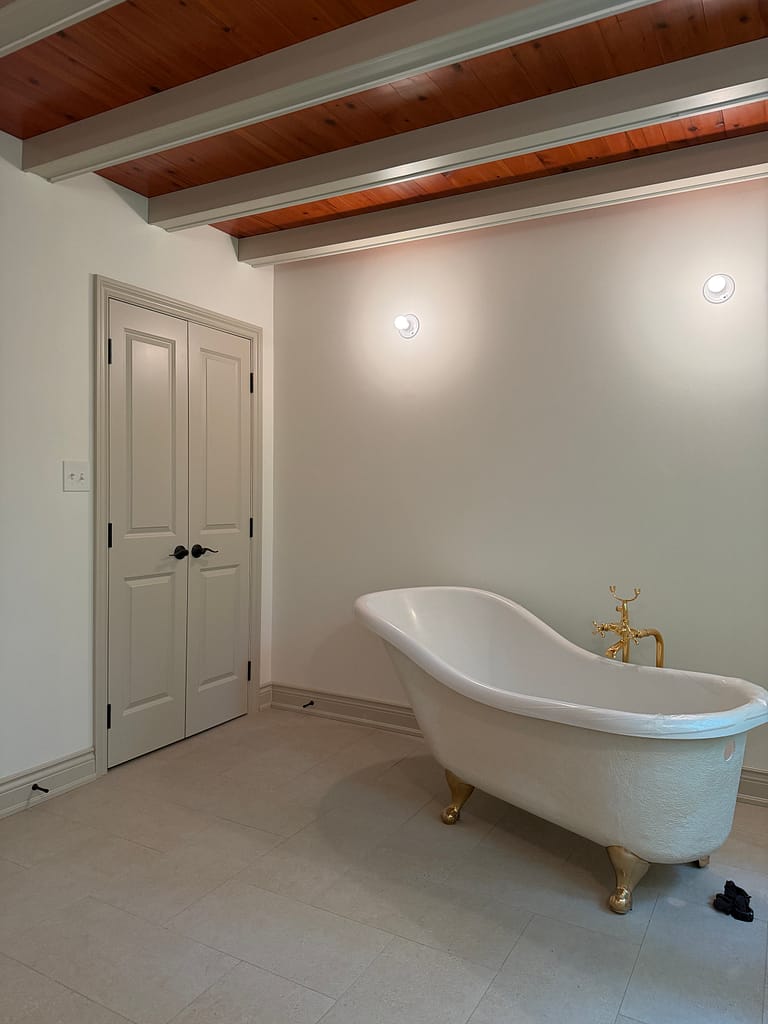
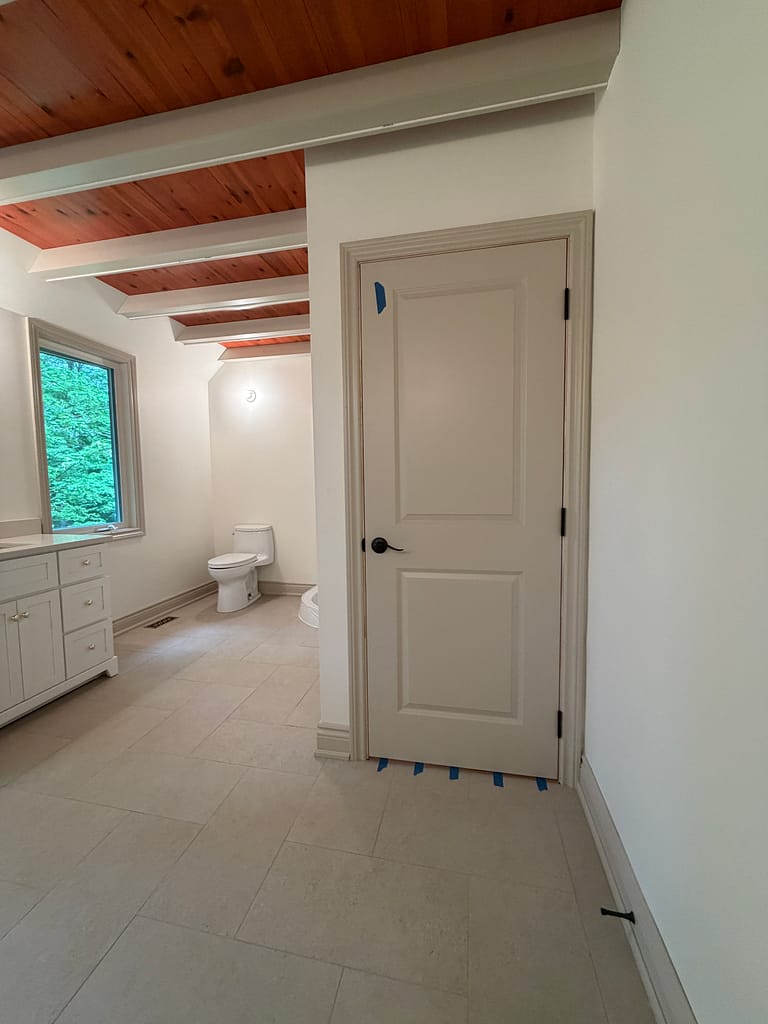
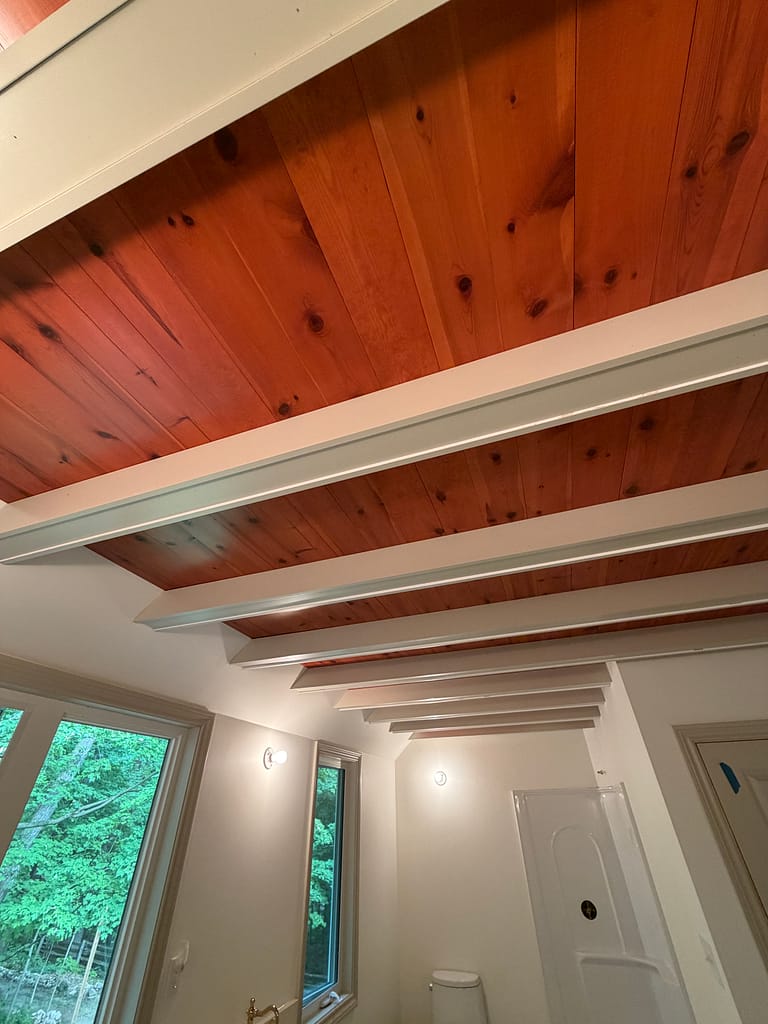
The bathroom ceiling included nine exposed beams beneath a sloped wood ceiling.
Each beam cover was built from three finish pieces: one across the bottom and one on each side. The side pieces extended slightly below the bottom piece to create a consistent reveal along the beam.
Although the beams looked similar from below, the angles where they met the sloped ceiling were not identical. One might be close to 44 degrees, another 45 and another 46. Each beam therefore had to be measured and cut individually.
Repeating one assumed angle across all nine beams would have left open joints where the covers met the sloped ceiling.
The finished beam covers introduced a clean painted line against the natural wood ceiling while keeping the original rhythm of the nine beams.
Watch the Complete Installation and Walkthrough
The video below follows the project from its original conditions through flooring, door and hardware preparation, jamb assembly, casing, window extensions and the bathroom beam covers.
It also includes the final walkthrough of the completed second floor.
Bringing the Second Floor Together
This project worked because the individual parts were planned as one connected finish package.
The vinyl flooring established the final floor height. The customized jambs responded to the plaster-wall conditions. The hinges protected the prefinished doors and jambs from unnecessary mortising. The window extensions bridged the depth between the PVC frames and finished walls. The casing, baseboards and beam covers then gave the second floor a consistent finish.
Once the installation was complete, the homeowner only needed to fill the nail holes and complete a few minor paint touch-ups.
Planning Door and Trim Work in Milton?
Wood Job Finish Carpentry provides owner-led interior door installation, custom jambs, window extensions, casing, baseboards, flooring-related finish work and other detailed finish carpentry in Milton.
If you are planning a similar project, send clear photographs, the project location, approximate measurements and a short description of the work. For larger door-and-trim packages, the number of doors, window openings, material finish and current renovation stage are also helpful.
Related Services
Finish Carpenter in Milton
See how Wood Job Finish Carpentry helps Milton homeowners with doors, trim, baseboards, casing, fireplace details, window extensions and renovation finishing.
Interior Door Installation in Milton
Interior doors, double doors, French doors, hardware, reveals, jambs, and custom fitting for finished residential spaces and existing interior openings.
Finish Trim Carpentry
Casing, jambs, baseboards, door trim, window trim, reveals, transitions, and final finish details that help a custom door system look built into the home.




